|
Surprise bonus Tutorial Tuesday! Last week I posted a video tutorial for freezer paper stencils, and today is the same project, but a text & photos version for those who prefer their knowledge in "print" format! I decided that stencils would be a good choice for a tutorial since I had a few friends asking me questions about it after I talked up using freezer paper for my t-shirts at a cosplay panel last year. I hope that other people will also find it a useful resource for fabric-painting projects! Take Note: this tutorial is not necessarily the "right way" to do things, nor the "best way", but is simply how I went about it when I made my own. Anyways, on to the project! 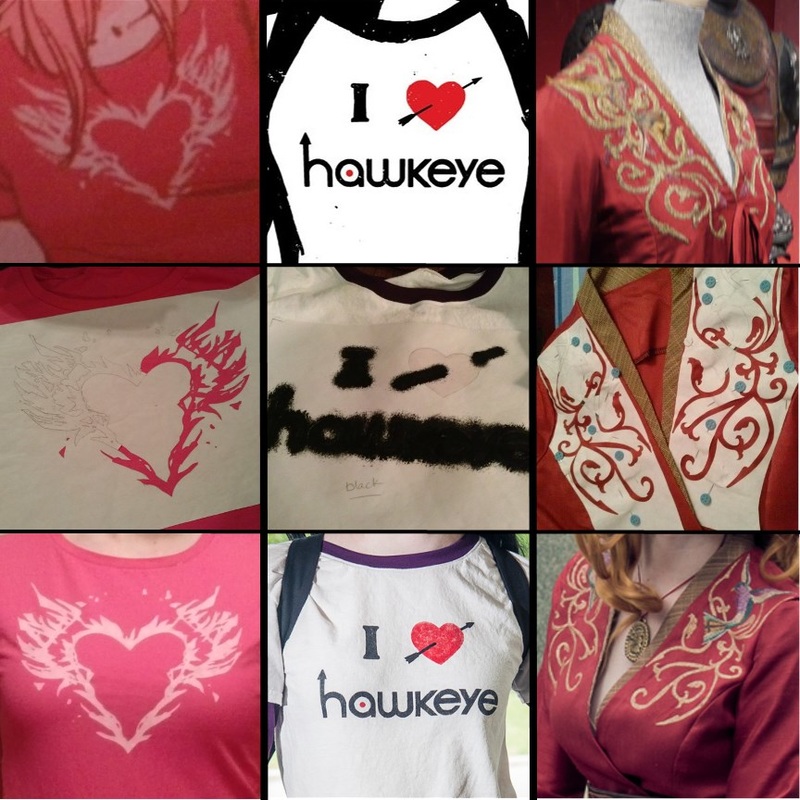 The Project: Using freezer paper for stenciling makes complex designs easy to paint exactly the way you design them, whether you're dealing with wiggly narrow areas which shift easily, designs which contain negative space, or using multiple colours. Above are just three examples from my recent cosplay projects, all of which were made using freezer paper stencils or templates. The vest from my Night Vale angel is another good example. This is the first time I have made something new just for tutorial reasons, so I asked some of my friends for suggestions of symbols which either had negative space or irregular shapes (but were still simple enough to do quickly), and ended up going with Kurumasha's suggestion of the Heartless symbol in the video tutorial, and the Zerg symbol (at the suggestion of Dan the Video Ninja) for this photo version. 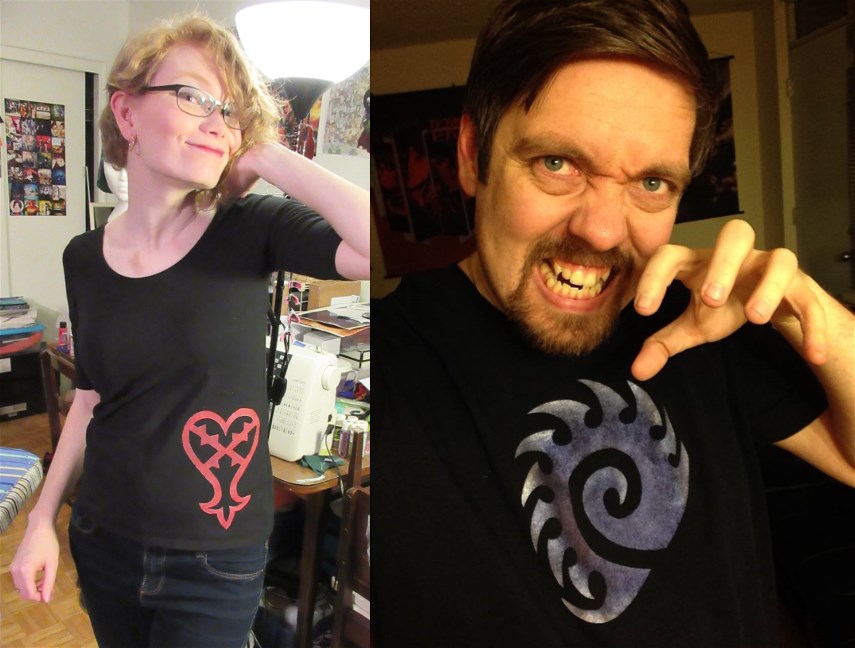
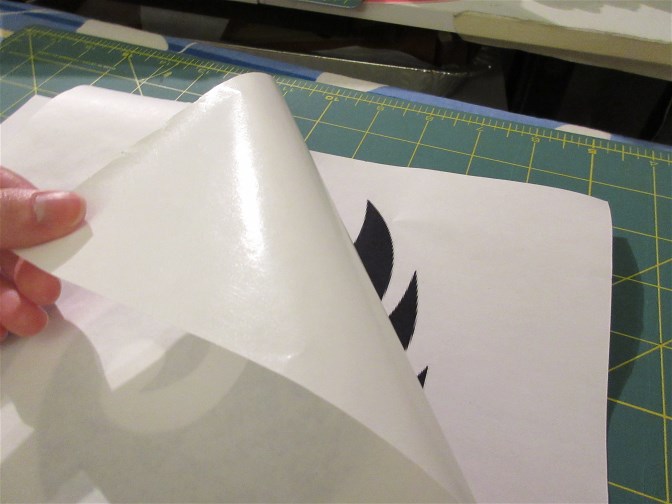
The Process: First off, you'll need a hard copy of whatever design you're putting on a shirt (or any other fabric; I'm not judging). In this case, that means printing a simple version of the Zerg icon. You then need to transfer that image to freezer paper. So, cut a piece of freezer paper big enough to be at least an inch or two beyond the design (depending on how messy you get with your paint) but not larger than your project itself. Freezer paper has a shiny side and a paper side - trace your design on to the paper side. Tape down the paper to avoid shifting if necessary.
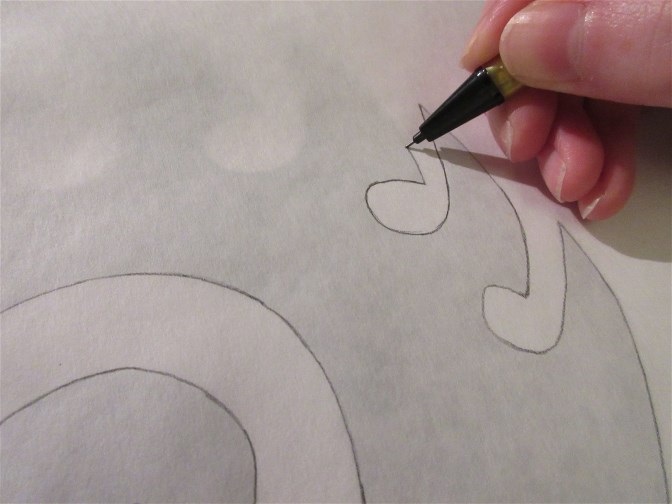
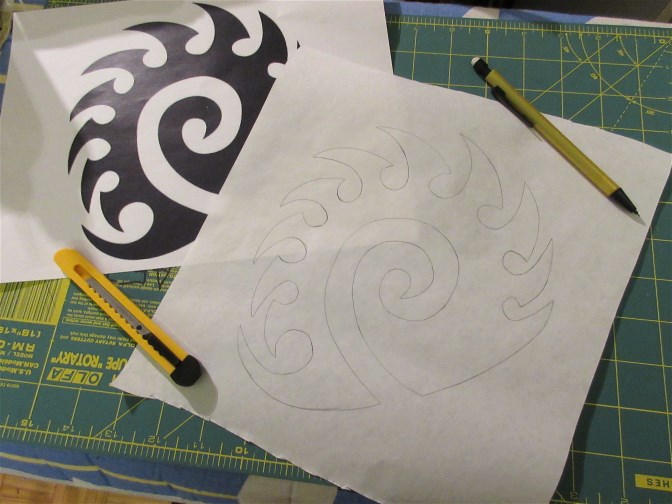
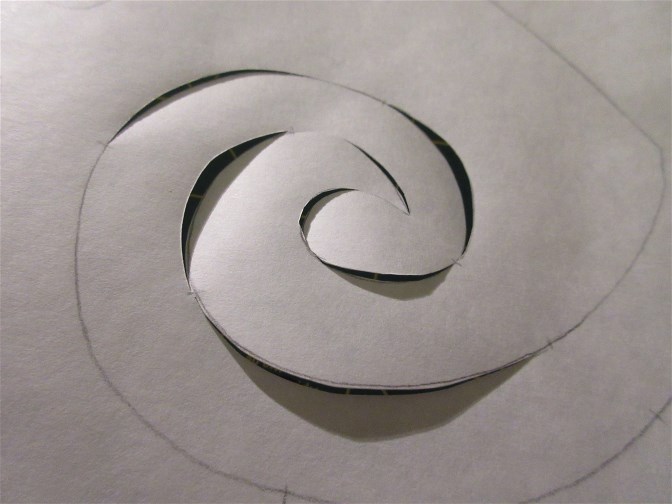
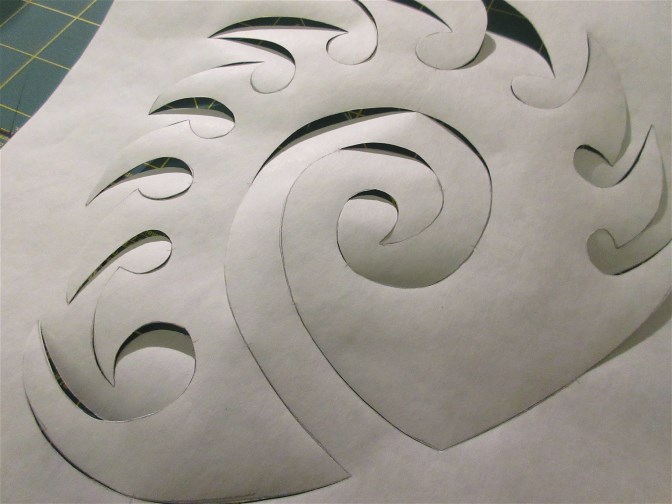
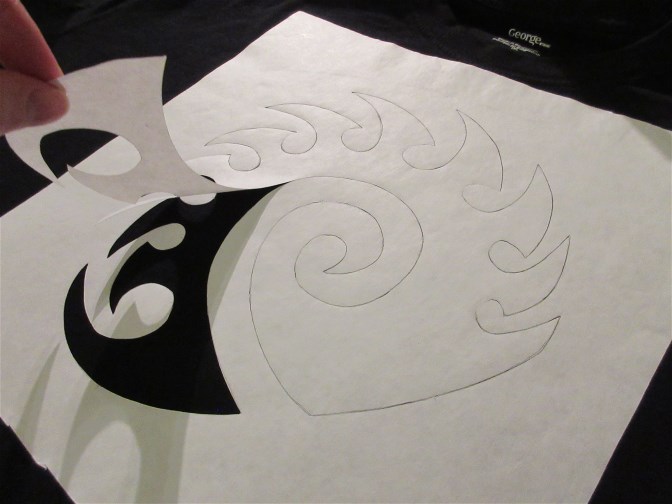
Once your design is traced, it's time to start cutting. The key is that this stencil is done in two steps - most of the cutting is done on a mat, but leave very small gaps in your cutting. And by "very small", I mean like, half a millimeter. Hair-widths. This is easiest done at corners since you just barely don't connect the cuts from each side, but is also easily done on long straight edges. Do this for your whole design. All the pieces should still be loosely attached together once you're finished, like in the photo.
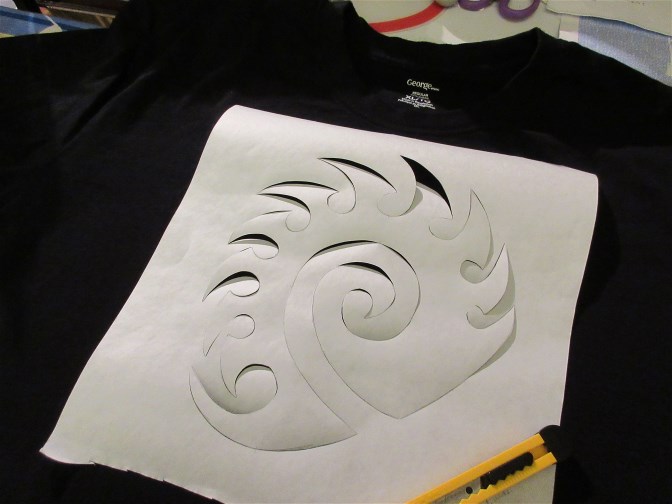
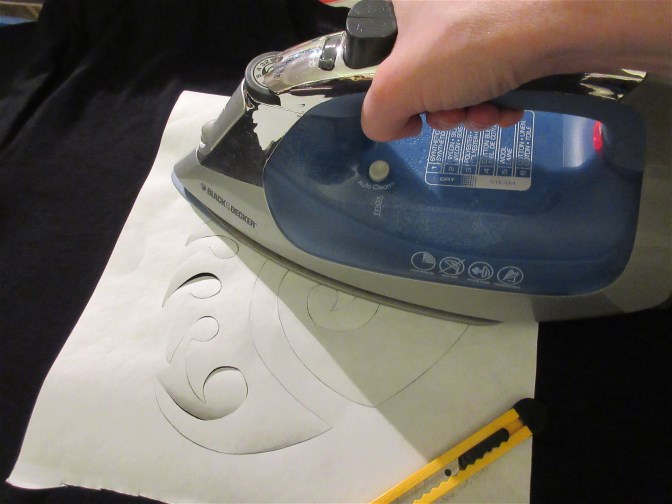
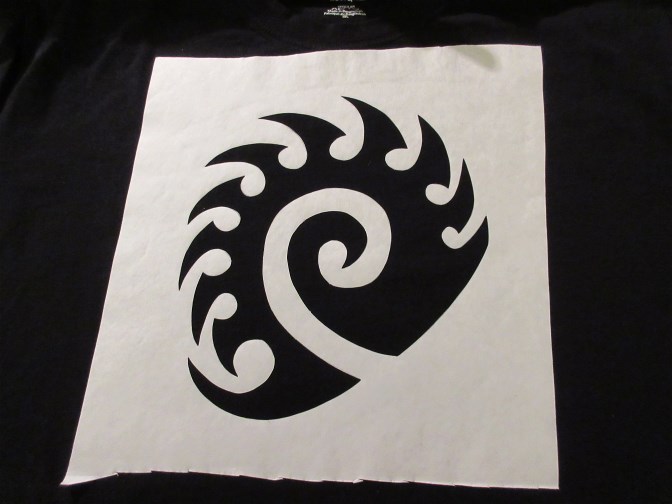
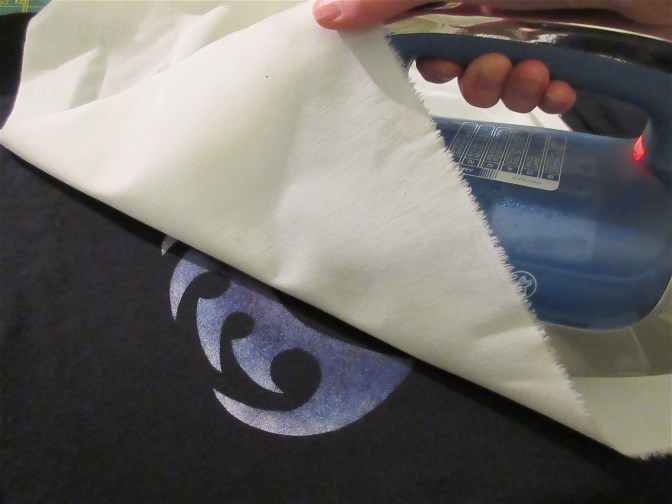
Now line up where you want your stencil to be on the shirt, and with the shiny side down, iron it on. Start with low heat and increase as needed; you don't want to burn the paper or permanently melt it to your shirt. Let the whole thing cool before moving on to the next step.
Time for the magic. taking the point of your craft knife, gently press it through all of the un-cut points in the paper. If your points are small enough, the knife will just cut the paper (because it's stiff) but the shirt will compress underneath and be intact. Do not drag the knife around the stencil. Just push through to finish cutting. 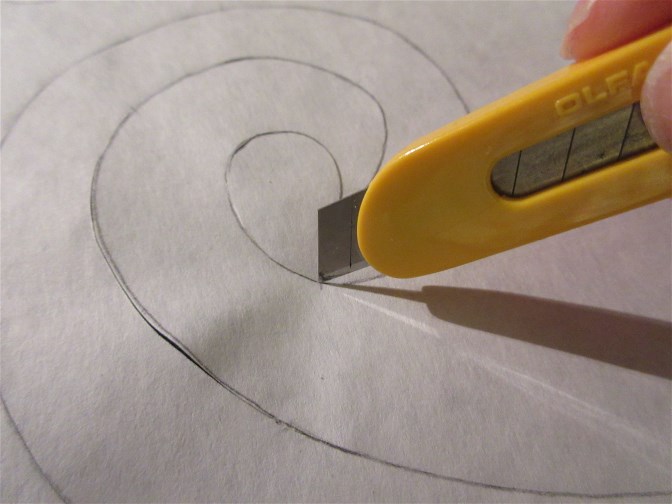 When you're finished cutting all those paper "threads", simply peel off the parts of the stencil which are the areas to be painted! Since this process can sometimes loosen the rest of the stencil, I like to give it another quick pass with the iron to make sure the stencil is secure before painting.
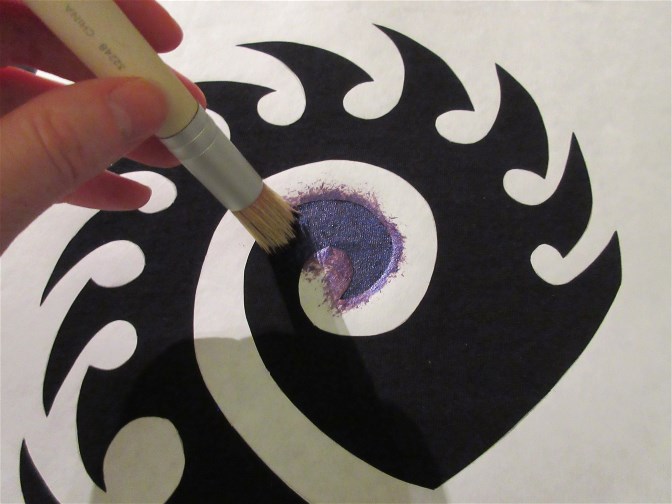
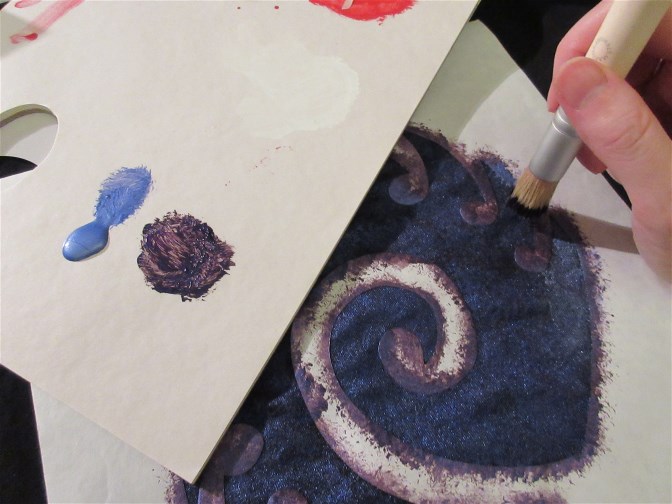
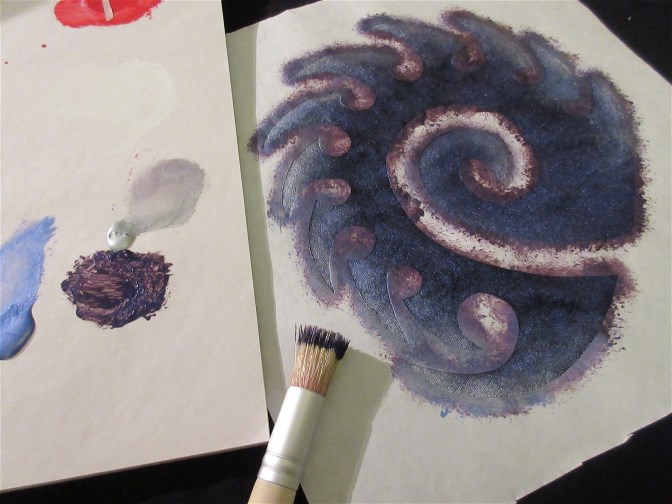
For paint, you can use fabric paint (the main colour for this shirt is metallic purple from Setacolor - leftover from my Night Vale Angel bodysuit) or acrylic paint mixed with fabric/textile medium (the accent colours are metallic blue and silver craft acrylics from my stash). First, place something under the stencil area to prevent any excess paint from soaking through to whatever is underneath. I used a stencil brush to dab on the paint, filling the whole area with purple. You could also use a sponge, roller, or even a regular paintbrush if you're careful not to brush paint under the edges of the paper. Next I stippled blue on to the outer edges of the spikes and central spiral, finally finishing off with a third layer in silver just on the outer most edges.
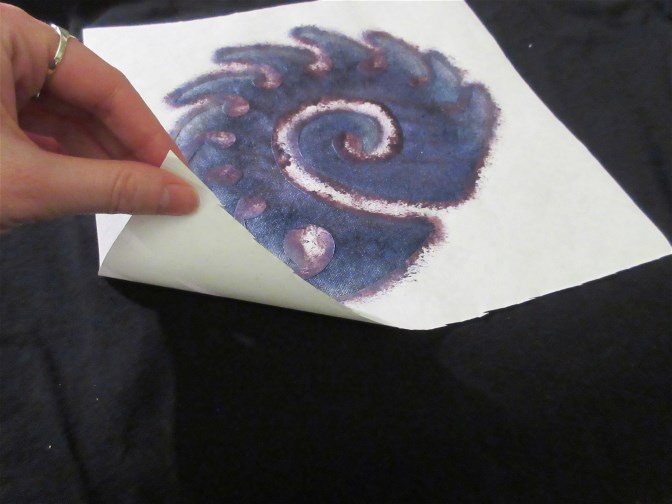
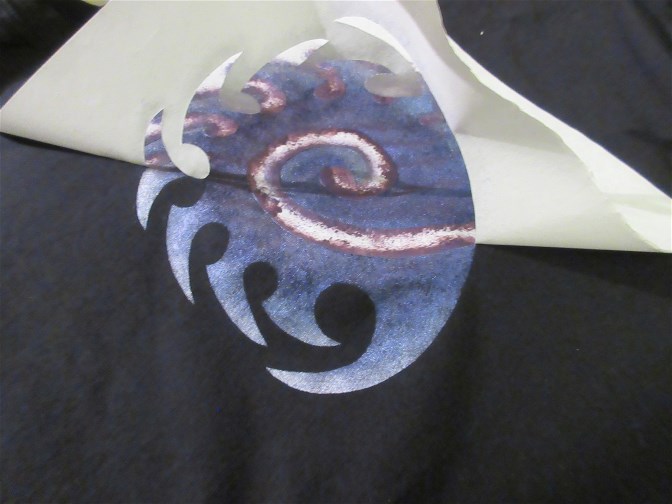
Once you are satisfied with your painting job and the paint is mostly dry, peel off the rest of your stencil. Heat-set your paint with an iron or dryer according to the directions on your paint.
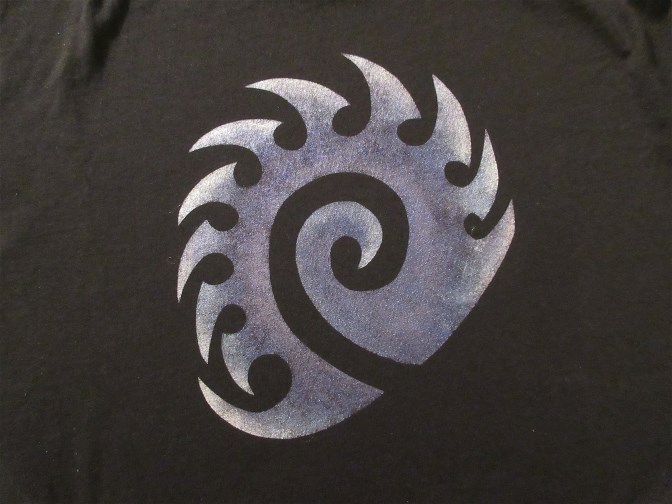
And there you have it, a simple, affordable way to make replicating complex designs, or designs with negative space with a stencil! Final Tips: Freezer paper likes to stick to some fabrics more than others. I've never had a problem with t-shirts, but the slub fabric that my Cersei dress is make of did not want to stick at all. And these stencils aren't very reusable. You could probably get a second use out of them, maybe a third, but it won't likely stick very well. Also the best part of this method, that all the fiddly detail bits can't wiggle around, is negated on the second use because everything is already completely cut out. 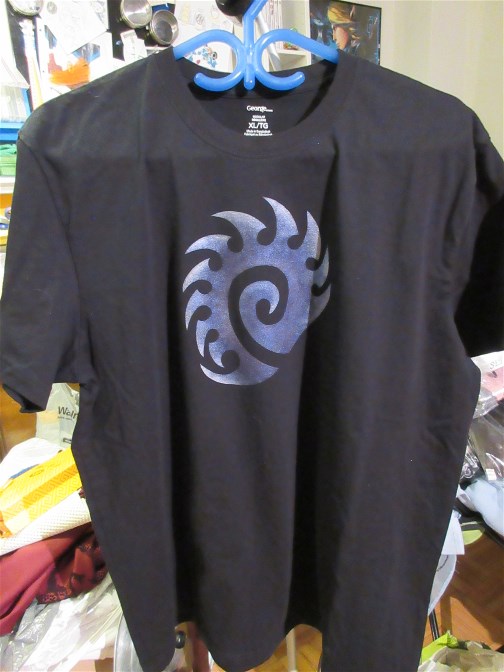
0 Comments
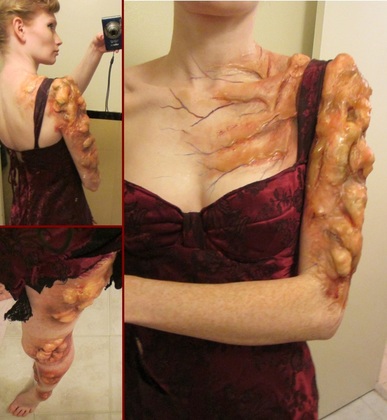
OHMYGOSH, it's the second Tutorial Tuesday! I haven't quit yet! This tutorial was written up in response to a reader who asked about how I did the FX makeup on my Bioshock Splicer costume. I hope that other people will also find it a useful resource for working with gelatin for similar effects! Take Note: this tutorial is not necessarily the "right way" to do things, nor the "best way", but is simply how I went about it when I made my own. Anyways, on to the project!
Welcome to a new feature from Mai Sheri Costumes: Tutorial Tuesdays! I don't know how often these will be posted, but I'm looking at once a month for now - it depends on what people ask me about and how much writing time I have available. I post lots of progress photos of my work, but occasionally I get asked for a more detailed description of how I made something, and I decided to turn the answers to those questions into proper write-ups! Take Note: this tutorial is not necessarily the "right way" to do things, nor the "best way", but is simply how I went about it when I made my own. Anyways, on to the project! 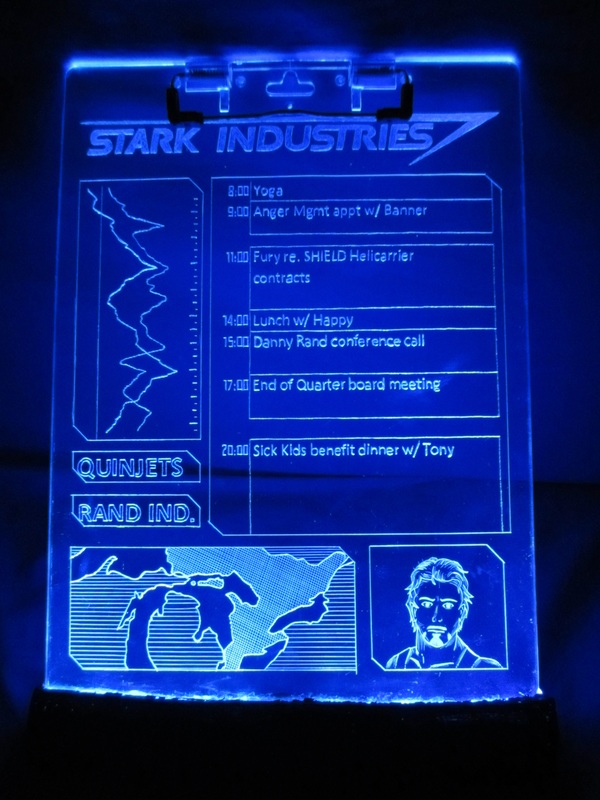 |
Archives
March 2024
Categories
All
|

 RSS Feed
