Hi Citizen Mocha!
I dug out my progress photos for reference making the quiver, and made this tutorial just for you! While I didn't get photos of every single step, I hope this is enough to be a useful reference ^_^
I dug out my progress photos for reference making the quiver, and made this tutorial just for you! While I didn't get photos of every single step, I hope this is enough to be a useful reference ^_^

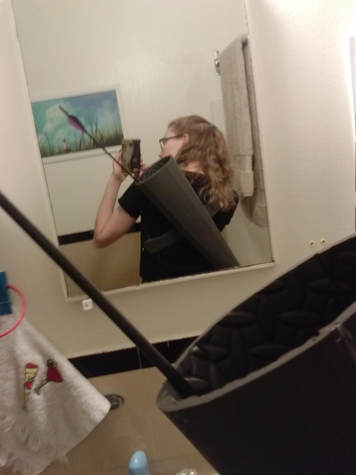
Unfortunately I don't have photos of the design process, but I took a large sheet of paper and rolled it into a cone/tube shape, making adjustments until I was happy with the size and shape of the quiver in relation to my body and my arrows. Having marked/taped/cut the paper as needed I then cut it to lie flat and be the pattern for my foam. I used an EVA foam floor mat (commonly used in prop and armour building) for a nice sturdy and durable shape. In this photo you can see I scored the inside in a few places to help the foam curve better. I glued the tube closed with a glue gun, and also reinforced all the score marks with hot glue for added stability. I used an oval of the same foam as the bottom of my quiver, again hot glued in place.
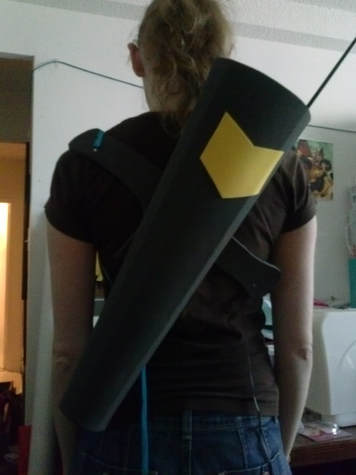
After checking out the shape and size (quiver looks good but we will get to the harness piece later) I decided it needed a little extra. For visual interest and to help identify it as Hawkeye, I added the stylized chevron to the quiver by gluing on an additional piece of craft foam.
|
|
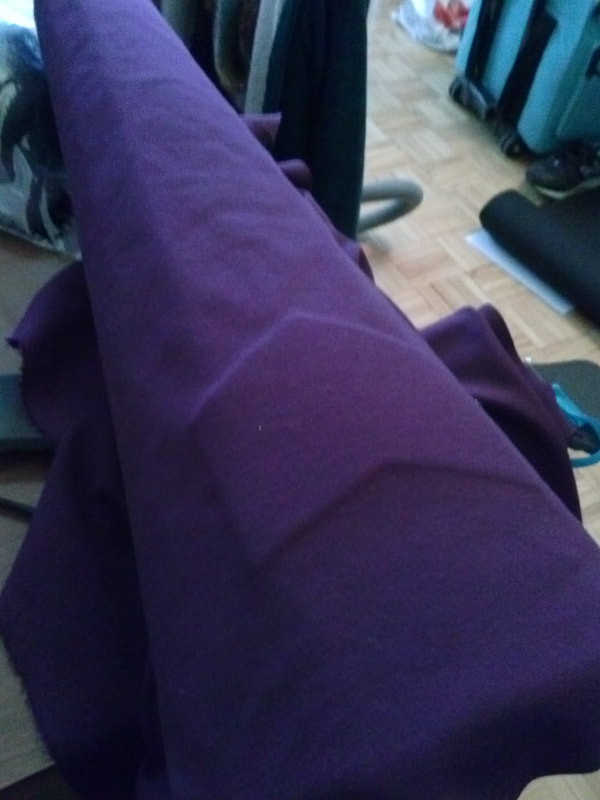
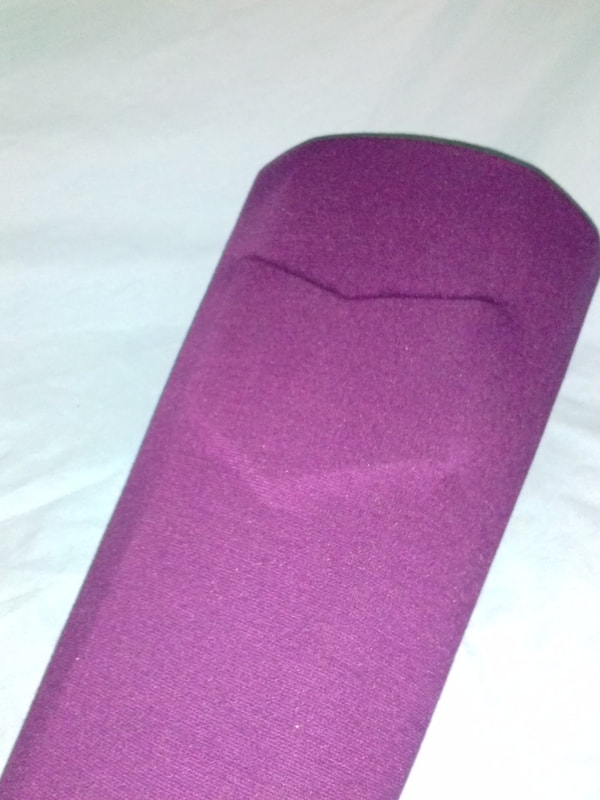
Now to make it look nice... instead of painting it (and because I had lots of fabric leftover from adding sleeves to Kate's shirt) I decided to cover it in fabric instead. Stretchy fabric works best (for reference the fabric I used is called "ponti di roma") because it molds over edges and curves well. I used spray glue to stick the fabric to the quiver - in the photo to the left the area over the chevron has been smoothed down into the glue, but the rest is still loosely wrapped. I used a glue gun to secure the edges of the fabric on the back side of the quiver, and an extra piece of fabric on the bottom to hide any mess.
(note that my camera sensor does not like purple much which is why it looks so vastly different in different lighting)
|

|
|
Going back to the harness part now...
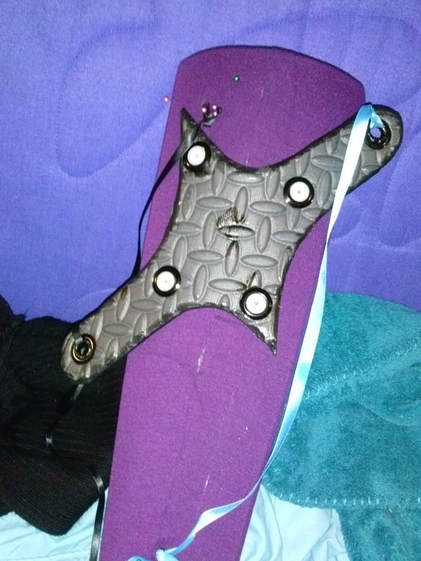
I know I said in my previous email that I used an x-shape piece, but that was my faulty memory. That's what I started with, and through trial and error of trying it on and adjusting over and over while making the tube part, this is the shape I finally ended up with, which both secures the quiver and holds it at an angle. (You will note that the arms of it are much shorter than in the first couple of progress photos)
It's made out of the same EVA floor mat as the quiver - I didn't bother painting or finishing this side because it's against my back. There are myriad ways to attach the harness part to the quiver - what I used is a split-pin set-up using materials that my boyfriend uses for making interchangeable armor parts - probably overkill for this but I just wanted to see how it worked. At this point I was using ribbon for the straps because I was still figuring out how long they should be and where they should be attached to the quiver for it to sit properly on my back. My left strap will go from the top of the harness where I've attached a large grommet (from the fabric store) and be sewn to the quiver itself near the bottom, and my right strap is sewn directly to the quiver near the top and is attached to the lower harness grommet.

I ended up making my own shoulder straps from scratch, using leftover scrap fabric from other projects, but you could easy do a no-sew version by harvesting the straps from a thrift (or dollar store) backpack, or even use simple ribbon or webbing, depending on your budget and skill level. My adjustable straps with parachute clips aren't "difficult" per se, but there are much easier ways to do it for novices.
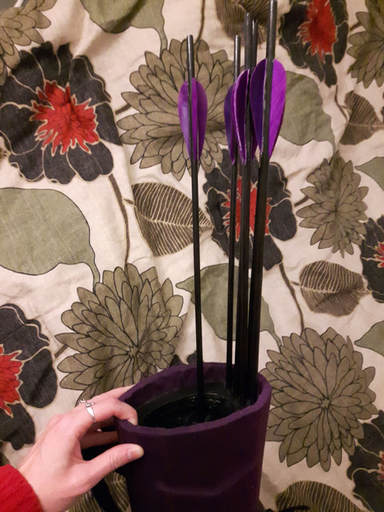
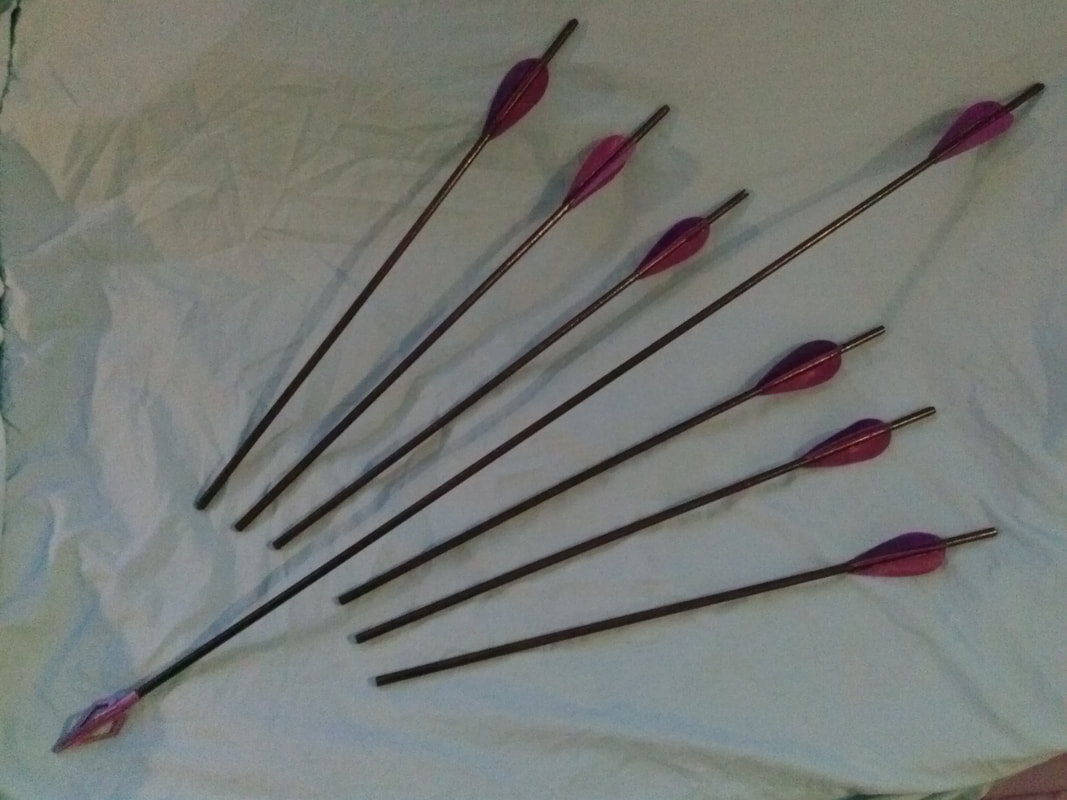
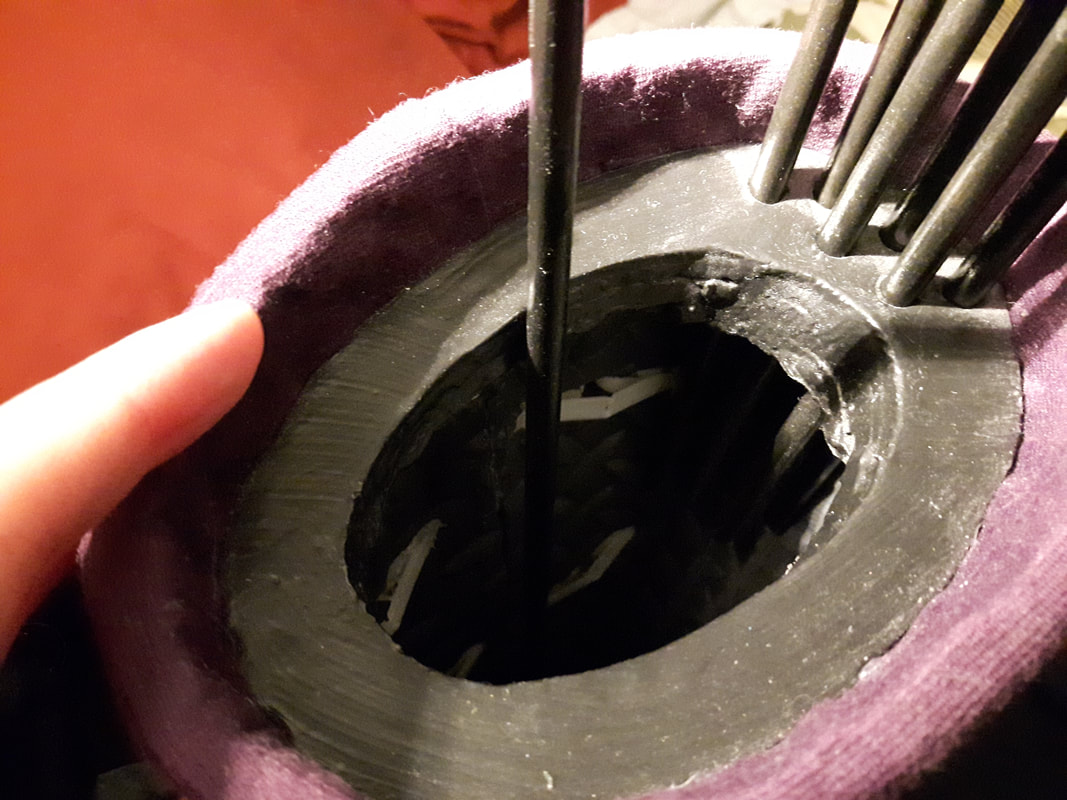
There's one last part I haven't discussed yet - the arrows and the part in the top that keeps them there. I made a sort-of "stopper" for the top of the quiver by cutting several pieces (rings?) of foam the same size as the top of the quiver, gluing them together to make a thick piece and securing it inside the top of the quiver. There are several holes in it - one large one because in theory I was going to store things inside it at conventions... but that didn't turn out to be practical in the end - and several small ones just barely big enough to fit the dowels I used for arrows. The large hole was cut into the pieces to begin with but the small ones were drilled in after the layers were glued together so that they would all line up. Only one of my prop arrows is full size, and I can remove it from the big hole for photo ops, but all the rest are securely jammed into those small holes, so they just look like they are resting against the side of the quiver when I am wearing it. I didn't glue these in so that I could remove them - don't want that delicate fletching to get damaged in travel!
|
|
