Alice's blue dress, fingerless gloves, and boots
NOTE: a Progress Archive is not intended to be a tutorial; it is merely a record of how I chose to make things because people often ask. In several cases, I would not recommend the methods I tried. Your mileage may vary.
As a lover of Lewis Carroll’s Alice in Wonderland and Tim Burton in general, I was excited when I first saw the trailers for the new film. After many of my friends pointing out how Alice actually looks like me, it was pretty much a given that I would cosplay her. Unfortunately for my sanity, I wasn’t paying attention to the release date, and it wasn’t until my friend invited me to dress up and see the film on opening weekend that I remembered my idea – 2 days before hand. So I worked for 2 days straight to try to recreate the dress visible in movie posters and the trailer.
As a lover of Lewis Carroll’s Alice in Wonderland and Tim Burton in general, I was excited when I first saw the trailers for the new film. After many of my friends pointing out how Alice actually looks like me, it was pretty much a given that I would cosplay her. Unfortunately for my sanity, I wasn’t paying attention to the release date, and it wasn’t until my friend invited me to dress up and see the film on opening weekend that I remembered my idea – 2 days before hand. So I worked for 2 days straight to try to recreate the dress visible in movie posters and the trailer.
|
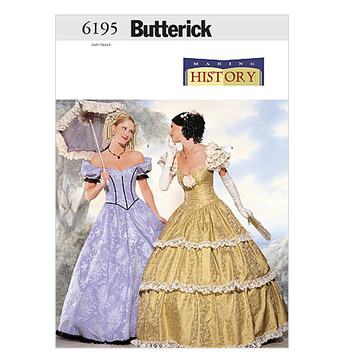
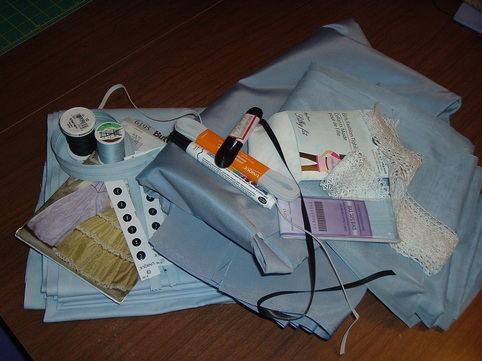
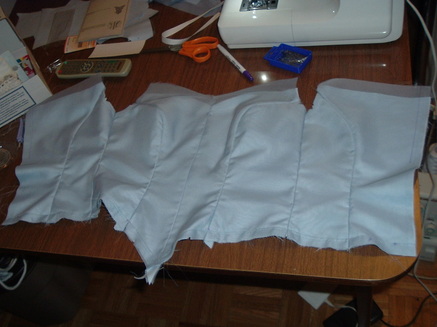
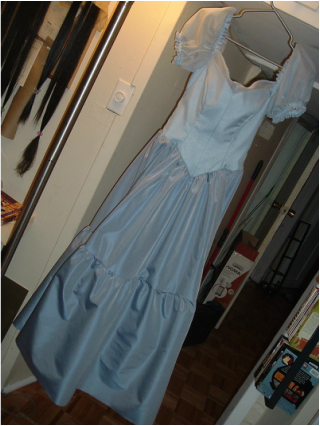
I started with a Butterick “southern belle” pattern which I already had in my stash and which would require minimal alteration to get the right shape for Alice’s dress. The bodice is 4 layers of fabric – on top is a sheer voile overlay, then broadcloth base which is self-interfaced and self-lined. You can see how I cut the top edge of the sheer higher than the base, which is how it appears in the film. It became a pain to finish the edge this way though, since the vertical seams of the bodice are sewn with all the layers together, while the edges on top needed to be finished separately. In addition, in order to prevent fraying of the delicate fabric, all the seams between the panels of the voile layer needed special finishing (in this case, French seams). |
|
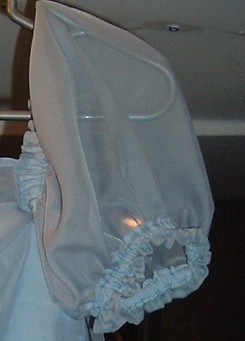
Aside from the zipper, this completed the main “construction” of the bodice (buttons and lace are decorative extras). Initially I had purchased a taffeta which was the same colour as the other fabrics to use for the skirt, which was a problem; partially because while the colours matched to the eye in both the fabric store lighting and in my apartment, they were very different once photographed. The other part of the problem was that it was very inaccurate to the film costume design. Fortunately, I was saved by my lack of planning here – I ran out of time and could not complete the dress for our trip to the movie. The up-side to that was that I got to have a MUCH better look at the dress than what I had been able to see in the trailers, so I came home knowing that the skirt portion would have to be constructed in the same layered method as the bodice. So I bought more of the right fabric and started over again on the skirt. |
|
With more time on my hands, I moved on to the details on the bodice, which meant sewing (non-functional) buttons to the front centre seam, and lace along the neckline. I was fortunate to find the right style of black shell buttons with a floral motif at my fabric store, as well as a white lace which was a similar width to the original as well as having holes large enough to feed a ¼” ribbon through. The lace is hand-stitched on the neckline to be as seamless as possible, especially when dealing with an already narrow edge on a sheer fabric. The two ends of the black ribbon tie together in the back above the zipper which keeps the lace even, and is high enough that it’s hidden by my hair while worn. |
|
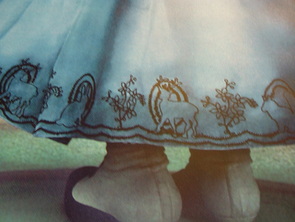
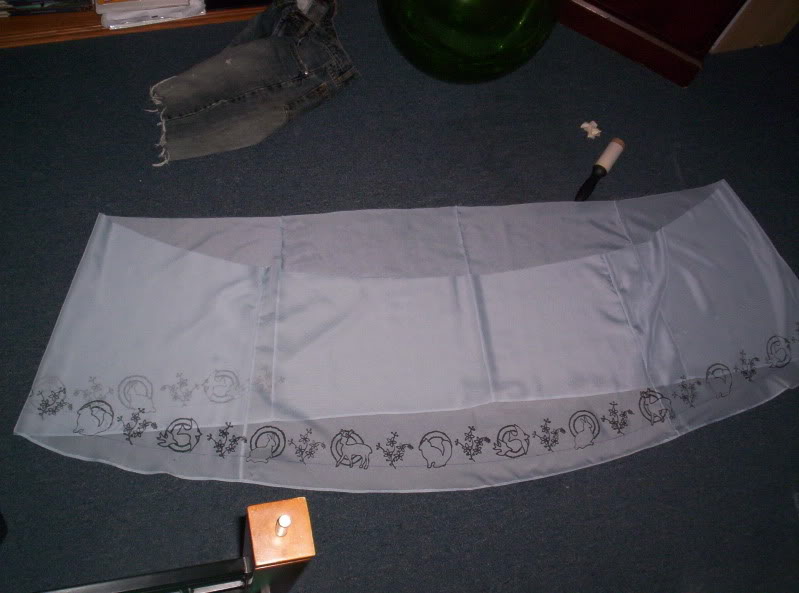
I had a lot of trouble finding references for the embroidered designs on the hem of Alice’s dress – at least referenced which were high-resolution enough to see clearly. What I ended up doing was going back to the theatre with my camera and taking pictures of the HUGE size poster they still had on the wall. (One of those photos is here) |
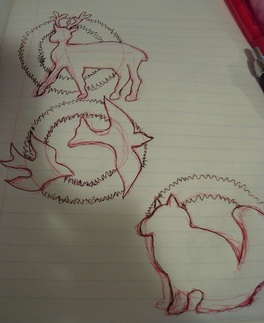
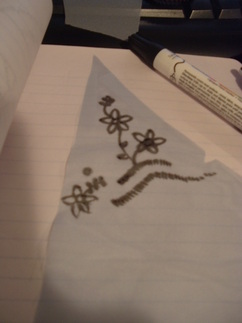
I drew each of the embroidered patterns free-hand, and tested my “embroidery” method on a scrap of fabric.
|
I used a paint marker to carefully trace each design, using short strokes wherever possible to mimic the look of stitches. I had to be careful not to press too hard or leave the marker in one place for too long to avoid the paint bleeding, but the fabric being a sheer which I could easily trace through made things relatively easy. I’m patient enough to have drawn all of those, but not to have hand-embroidered it! I stitched all the pieces of the skirt together (again with French seams) before starting on the motifs to make it easier to have it lined up properly once I looped around to where I started. I did all of the main design first, and then added in the scallop shapes underneath. |
